Hanging Drywall: Part 2 of Pantry Remodel
If you haven’t read part 1, click to read The Pantry Remodel
The most time-consuming portion of my pantry remodel was hanging the drywall. I started by making sure I had studs everywhere I would need them, as scabbing on a 2×4 here or there is much easier when you don’t have any drywall up yet.
The south and west walls of the pantry are exterior walls, so I covered them in a layer of heavy plastic to further cut down on the draftiness that leaks through my old siding and insulation. This was attached with an Arrow Fastener HT50P Heavy Duty Hammer Tacker which makes quick work of any stapling job. I highly recommend getting one of these if you have a lot of stapling to do.
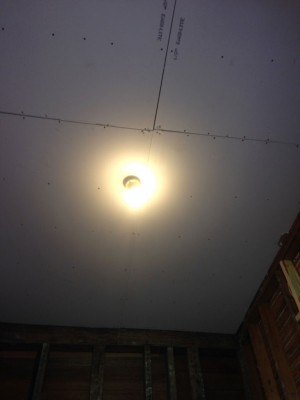
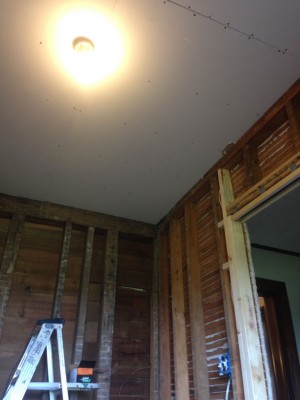 Once I had the plastic in place, I hung the ceiling drywall first. My ceiling in the pantry is 8.5′ tall. I used a 6′ step ladder and the help of my father to hold up the drywall as I screwed it in place. I put 1 2″ drywall screw approximately every 8 inches on all available rafters. Once I had the ceiling covered, I moved on to the walls.
Since my walls are 8.5′ tall, I knew there would be a small gap to fill as well as two full sheets. The first wall I did was the largest, a 10’7″ wall with no doors or windows (Since I filled in the window in Part 1). I had heard that you should start at the top, which is by far the most difficult thing to do because if you start at the floor each piece of drywall can support the next working from the ground up. It wasn’t too bad, and I finished that wall, but decided the rest would be done the easy way.
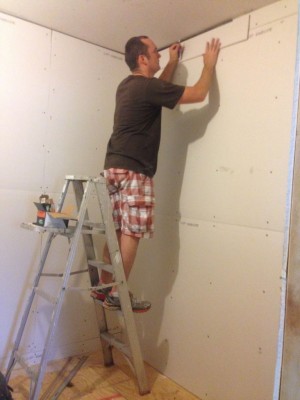
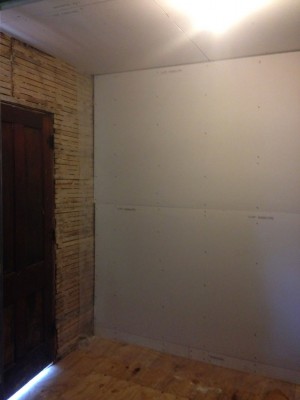 The remaining walls were done from the ground up. I utilized the largest pieces of drywall first and then filled the smaller gap at the ceiling which was much easier to handle by myself. Everything was screwed into place with the 2″ drywall screws with the exception of where the new pocket door is on the east wall. There the studs are only 1/2″ thick to give room for the door in the wall. I used 3/4″ screws there at the available points on the pre-manufactured studs.
All of the drywall was in place, so mudding the walls came next. I got a couple of cool new tools that made my job easier this time around. It seems like every time I do a home project I get a few new tools. It keeps me happy.
New tools for hanging drywall
- Stainless Steel Bucket Scoop
(Pictured here –>)
- Advance Adjustable Wipedown Knives – USA made, but I can’t find a link, sorry.
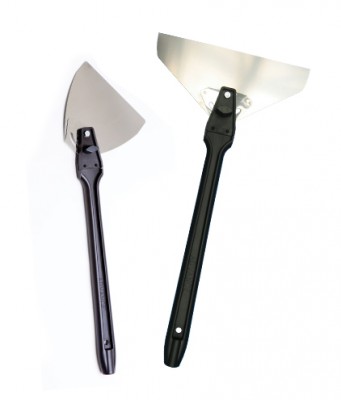
Other tools I already had
- Drywall Mud Tray
- Self Adhesive Drywall Tape
– This is much easier to use than the traditional paper tape for the general DIYer.
- Dewalt Corded Drill
– I prefer the corded drills for their power and the face that I don’t have to change batteries.
- Drywall Saw
– For cut-outs at the light fixture and power outlets.
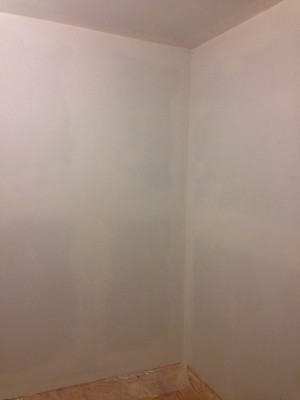
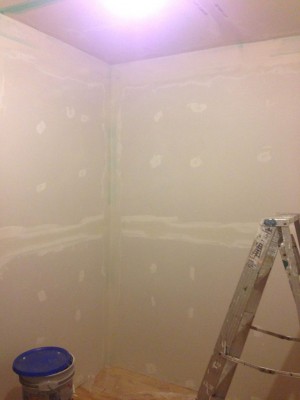 The taping for me went “Smoothly”. I taped the seams with the self adhesive tape and did 3 coats of mud with a sanding in between each coat.
Once I was happy with the smoothness of the walls, I used a standard drywall primer to give a consistent texture and color prior to painting.
Painting newly hung drywall is fun for me. ALWAYS prime first because if you don’t that drywall will soak up your paint and you’ll need twice as much!
We had a color in mind. The color of fresh bamboo. It is a crisp green.
Handy tip for cheap paint
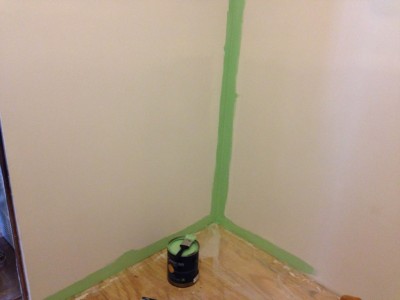 The way we often get our paint is by patience and with a bit of luck. My wife and I go to Menard’s and look at the “Mistake” or returned paint. Often I assume it is just not the color someone ordered. Well, if you know where to look, you can get this paint for $5.00 a gallon. With patience we have found almost every color we wanted for our house. It is a significant savings to the full price. Often if we have to buy more paint in the same color, it will cost upwards of $40-$60 for a gallon!
We found the green we were looking for, and painted the room for about $5.00! (It was a bit more because of the paint rollers and tray liners
.) These items are cheap enough that we don’t wash them, and buy new for each room we paint.
We were very happy with the result!

The color looks better in real life than this photo shows.
Next up… The floor. Read “How to install Bamboo Hardwood Flooring”

Looks great brother. I'm ready to move back and do some projects together.
Hi I love all you work love color choices I love that green you know I love pink you think be ok to color my bedroom pink I'm 47 tell me what you think thank you
I think if you love pink, then it is up to you! You go girl!
It comes in large sheets, cuts with a utility knife, and nails or screws directly to the framing. Those large sheets cover a lot of wall areas, so the project moves quickly.