How to replace water damaged plaster (Pantry Remodel Part 1)
First off, it has been quite some time since my last post. I’ve been busy being a Handy Father instead of writing about it. One project that has been taking up a lot of time is a total gutting of my kitchen pantry.
Part 1 of this Kitchen pantry remodel:
How to replace water damaged plaster…
As far as I’m concerned, plaster is an antiquated method of interior wall creation. It is very heavy, and I hate it! So when I bought my 1901 farmhouse, I knew the walls were all plaster. I don’t replace plaster with more plaster, but rather I remove old plaster and install drywall.
The whole reason we are starting in the pantry is because the kitchen needs remodeled, but since we are living in the house while remodeling, having a pantry completed will give us clean storage needed to tackle the larger kitchen.
The pantry has a lot of water damage. The roof has been leaking for years, it would seem. I did replace the roof this winter. Now that I have no more water coming in, it is time to fix the interior issues.
Pantry Remodel Task List:
1. Clean. When we moved in, the pantry had many items from the previous owner left inside. We removed everything, including the shelves and cabinets for a fresh and clean slate.
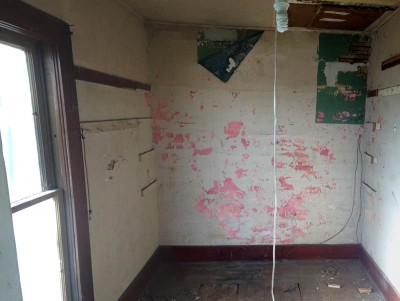
Clean. Now time for plaster removal.
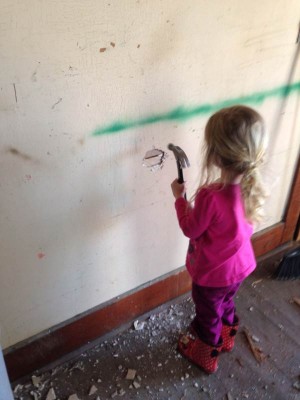
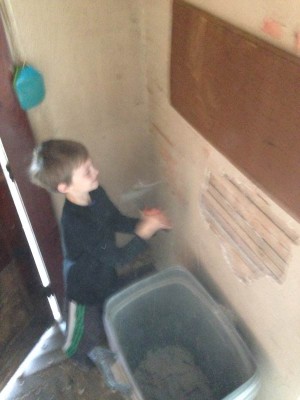
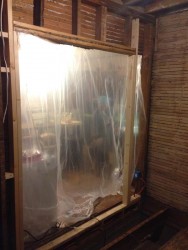
2. Plaster has to go. The bad plaster is the main reason for this remodel. I started on the east wall, farthest from the door. At the ceiling, I hit and scraped the old plaster until it came loose. I caught most of it in a 50 gallon trash barrel as I went. When you’re hitting the wall with a hammer, the kids get interested, so I had some “help” with the other walls.
- Chloe does her part, helping remove plaster with a hammer.
- Noah was more than excited to hit the wall with a hammer!
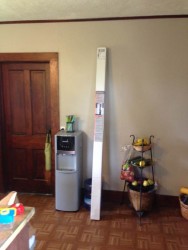
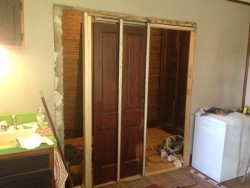
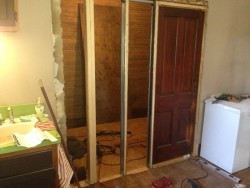
5. Let’s take out part of that wall. While the wall is completely dismantled, we might as well save some storage space and install a pocket door in between the kitchen and pantry. We are re-using the old hardwood door, but rehanging it with a pocket door kit.
- Lay the kit up against the wall, and done! What do you think honey?
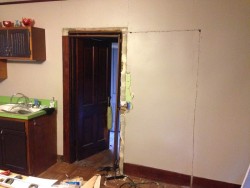
- Measured, marked and then cut. I used a reciprocating saw to get through the plaster and studs all at once.
- The rough opening was quick work and came out in one piece.
My pocket door kit has instructions that said to make the rough opening 1″ wider than double the width of the door I’m using. The rough opening is 3 1/4″ taller than the total height of the door. This is the third pocket door I’ve installed, so that was the end of the instruction book use for me.
The door went in pretty smoothly. I was glad I decided to pre-drill the holes in the door for hanging it, as the hardwood was prone to cracking.
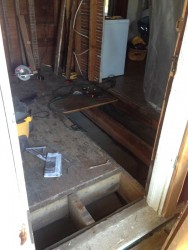
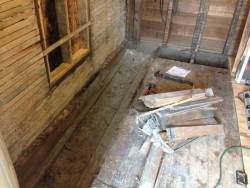
- The floor is uneven and spongy, so it needs to be removed before I can finish framing the door.
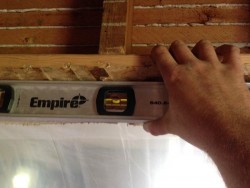
- The floor is not level, but my door will be. It must be level where it is hung.
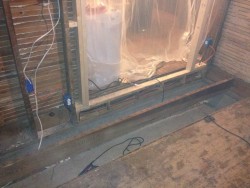
- View of the bottom of my rough pocket door framing.
- The framing is done. I had to remove the floor and rewire before I could install the door.
- Door slid open
- Pocket door slid shut
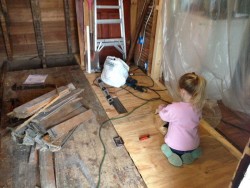
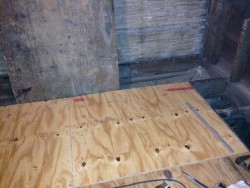
4. Flooring gets removed, sub-floor installed. That’s right, the whole floor is old and water damaged as well, so I’m ripping it out and replacing it as well. It is quite spongy and smelly from years of dripping and neglect. I actually did this in the midst of step 3 because of the “interesting” construction techniques that were used on the original wall. I removed all of the old wood flooring and replaced a 1×3″ that was used in place of a proper floor joist! I’ve laid 3/4″ plywood sub-flooring in place of the old floor, and once I have installed and painted the new drywall, I’ll install new hardwood over the sub-flooring.
- The old floor came out to make way for the new
- Chloe helped me out by handing me nails for the sub-floor
- I rebuilt the basement door which will be covered more in depth soon!
So the door is hung and I have new, sturdy sub-flooring in. It is time for a break!

Pingback:Hanging Drywall: Part 2 of Pantry Remodel - Handy Father