Turn garage into functional work area
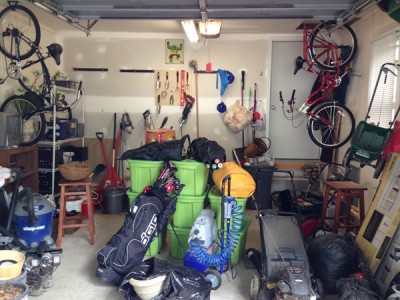
I have a 15’x15′ garage. Not very big. Assuming the garage is empty, it is just big enough to hold my wife’s VW Beetle, with a few inches to spare. As you can see from the before photo, my garage was not empty. This before photo was actually taken after we put a bunch of our stuff into those green bins in the middle. Our garage had become a catch all room that I hated to enter.
 So my wife and I needed to make a decision. Do we buy an expensive shed and move most of the garage storage into it in order to make room for my wife’s car? Or do we overhaul the garage into a work/storage area, basically insuring that no cars will be able to fit into the garage, with exception to a smart car. We chose the later.
The had a number of reasons why we came to this decision. First of all, when we sell this house, most people aren’t going to have a car much smaller than my wife’s VW. So even if the new owners did have the garage empty, they couldn’t fit any type of full sized vehicle in there. Also, the convenience of having a work area attached to the house was a plus for me. I really did not want to run electric into a shed in our backyard. Lastly, and probably the biggest factor was price. We figured it would probably cost $1,200 – $1,500 + to get a decent shed built (doing it ourselves). Overhauling the garage would cost around $500. That made our decision pretty easy.
Here is how we did it: Turn garage into functional work area
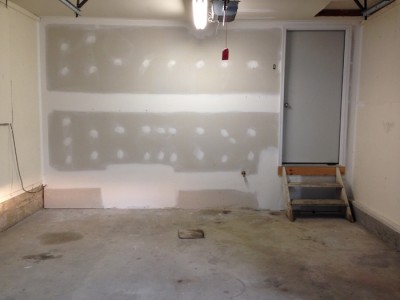
- I started by taking out everything from the garage. I wanted to start with a clean slate.
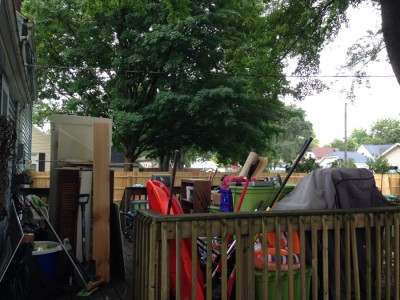
I moved everything out to our back porch and prayed that it wouldn’t rain for a couple of days.
- Purchases:
• (4) 4’x8′ sections of pegboard to install. – $68
• (14) 8′ furring strips for pegboard frame – $14
• 4′ laminate countertop – $23, 8′ laminate countertop – $46
• (2) heavy duty overhead storage racks – $120
• (4) metal customizable open storage racks– $60 – Amazon
• assorted peg hooks, baskets, and racks– $144 – Amazon
• I used about (5) 2’x4’s and (2) 4’x4’s that I already had from a previous project
Total = $475 - Next I framed out the pegboard on the east, south, and west walls, using the furring strip and some screws.
- Next I mounted the pegboard onto the frame using some screws. I predrilled the screws because furring strip is not very wide and splits easily.
- Next I mitered the (2) countertop slabs using a circular saw and clamping a straight edge down for a guide. I saved about $100 mitering myself. Lowes has pre-mitered slabs, also, but they are twice as much. If you are comfortable and precise with a circular saw, I recommend mitering yourself. This is for a garage. I didn’t need it to be perfect.
- Next I attached the countertops using glue and a Kreg Pocket Hole Jig System
.
- Next I framed the counter using my 2x4s and 4x4s. I framed an area for a shelf that I plan on putting in shortly.
- Next I mounted the countertop to the frame using some PL adhesive and a few screws.
- From here I mounted my 2 heavy duty shelves above my counter space and my open storage racks on the west side.
- All that was left was bringing everything in. (My wife helped me with this part)
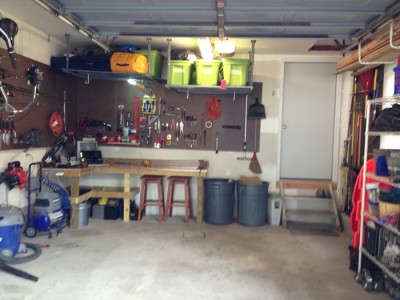
 The end result is a room that is very functional and accessible. I love being able to grab my most used tools off my pegboard without having to fish through tool boxes. The biggest space saver would probably be the suspended ceiling shelves. Everything up there is stuff that we don’t use on a regular basis so it is nice keeping it up high, out of our way, but still accessible when we need it. I hope this article proves that you don’t need a large area to have a functional space. Turn garage into functional work area for yourself!

