How-to Replace your kitchen sink
 This How-to replace your kitchen sink
 post is for the Handy Father who already has a sink, but is looking to replace it, as opposed to a new install. The kitchen sink is the most versatile and heavily used features in the room.
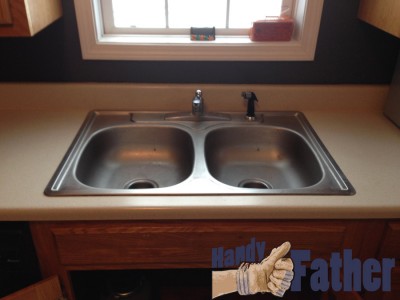
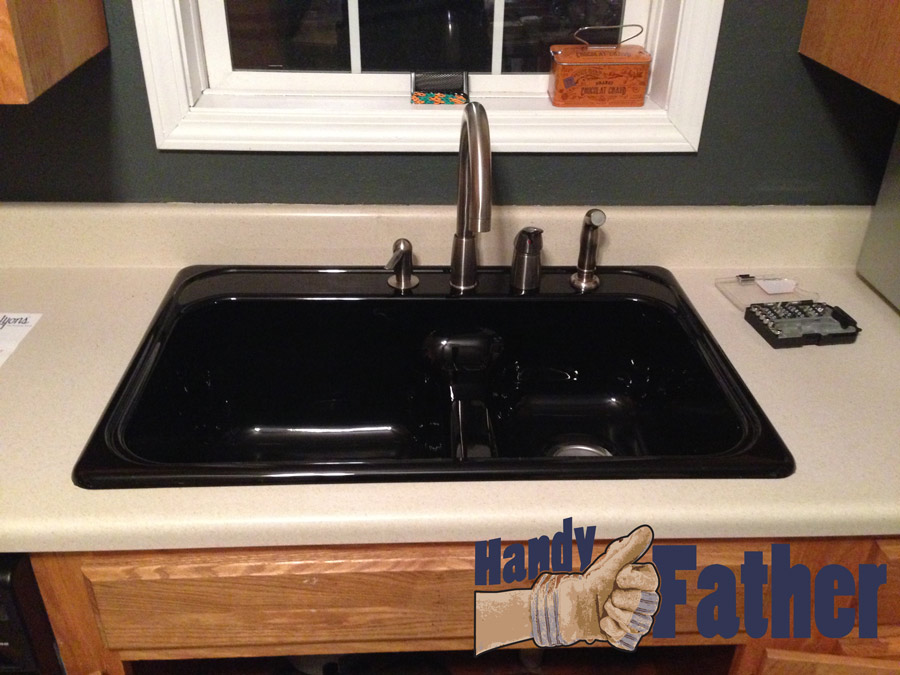
A good kitchen sink should be big enough to accommodate pots and pans for washing. This is the main reason we have chosen to replace the current, stainless steel kitchen sink with a deeper, black acrylic kitchen sink.
The new kitchen sink measures the same outer dimensions as the old sink. This is nice because little to no trimming of the rough opening will be necessary.
Steps how-to replace your kitchen sink
- Shut off the water supply to the old kitchen sink. There should be shut off valves in the cabinet below the sink. If there are no valves below, you will have to shut off the main water supply line to the house.
- Disconnect the water supply lines from the underside of the faucet. Most water supply lines are a pliable rubber/plastic hose, and can be removed easily, even by hand. Older homes may have copper supply lines, and care should be taken not to twist the line.
- Disconnect the drain lines from the bottom of the sink, as well as any garbage disposal that is attached. If you’re using the garbage disposal in the new sink, you’ll have to remove the part attached to the sink as well to re-use in the new sink. There are replacement Garbage Disposal Mounting Flanges
available online or at your local hardware store.
 Your kitchen sink will likely be attached with small metal brackets from below. These are removed with a screwdriver or a small socket, if there is room to do so. Once the brackets are removed, the sink is ready to to come out!
- Remove the old sink from front to back. A putty knife may be required to loosen the caulking and plumber’s putty on the underside of the sink’s edge.
- Once the sink is removed, clean away any remaining caulking residue.
- The replacement kitchen sink, if new, will have instructions for its installation. The model I have chosen to install is a black acrylic sink which is fiberglass with a shiny black plastic over it. It says specifically to use a black silicone in place of plumber’s putty. (to avoid future comments that I’ve done it wrong… the instructions with my sink say that the use of plumber’s putty will void the warranty on my sink.)
-

Newly installed garbage disposal flange
Before placing the sink in the opening, apart from a rough fitting, the drain flanges will need to be installed, as well as the faucet fixture.
- Since we didn’t have a garbage disposal previously, we purchased one, and it comes with a special flange to attach it to the sink bottom. Now is also the time to attach that flange as well.
- Follow the manufacturer’s suggestions for installation. (My sink, as mentioned previously, is acrylic and the instructions implicitly specified not using plumber’s putty, and instead to use high quality silicone.)
- Place the sink into the opening and attach the drain pipe and water supply lines to the underside of the sink. Attach the garbage disposal.
- Silicone around the top edge of the sink to keep water from getting under it and into the cabinet below. Once dry, your newly replaced kitchen sink will last for years to come.

The finished job: How-to installed a new kitchen sink
This has been how-to replace your kitchen sink. Not all kitchens and sinks are alike, and if you run into unexpected issues regarding your kitchen sink replacement, or you’ve benefited from this post, please leave a comment below or on facebook, or tweet @handyfather.
Comments
How-to Replace your kitchen sink — No Comments
HTML tags allowed in your comment: <a href="" title=""> <abbr title=""> <acronym title=""> <b> <blockquote cite=""> <cite> <code> <del datetime=""> <em> <i> <q cite=""> <s> <strike> <strong>