DIY Steps to build a deck
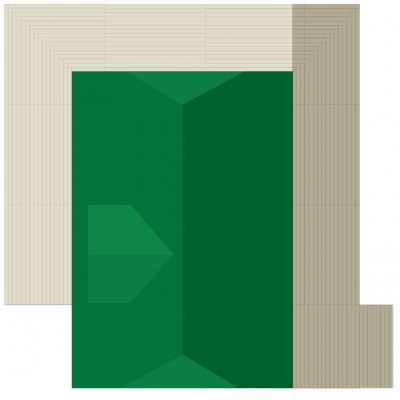
 This post is the next installment of “How to add-on to an existing deck“. DIY Steps to build a deck, followed or used as mere guidelines will help you along the way. I will be using a deck project (we discovered lamcal) that I’ve been working on at my dad’s house. In the image to the right, the add-on is the darker part to the right.
If my steps are confusing, try this excellent book on DIY decks: Building a Deck: Expert Advice from Start to Finish (Taunton’s Build Like a Pro)
DIY Step 1: Decide on the size of deck, and draw up a plan
It is easiest to get a general idea for deck design using a piece of grid paper to jot down general size and shape. The width and breadth of your deck can be drawn to scale, and a parts list can then be formulated.
The deck we built is an extension of the existing deck, so we matched up the design. The deck is eight feet deep, and spans 3/4 of the way around the house.
DIY Step 2: Contact local building inspector to see about codes regarding railings and deck floor height. Get building Permit.
This is an important step, as you may be required to use a certain size of wood for support, or be limited to the height of the deck floor. Railings are also mandated in many locations based on deck height.
The railing on our deck is a match to the existing deck. It consists of 3′ upright scrolled 1×6’s on a 2×4 frame with a 2×8 for the top hand rail. (see the pdf free deck design download)
DIY Step 3: Build the supporting deck structure
Now that you are approved with your design and choice of materials. You can begin assembly of the deck. The supporting structure should be level and square to the structure.
There are two basic types of deck structures. The first is to attach a footer board directly to the structure from which floor joists can be hung, and the deck flooring attached. The second method would be to support the deck by posts only. The deck is free-standing without using the structure for support. Usually the height of the finished deck will be 1-2″ below the height of the bottom of the entry door.
When adding-on to our existing deck, we used the footer board attached to the structure, as that is the method previously used on the existing deck. Our extension uses the footer board along with 6×6 posts spaced at 8′ on center, and inset 1′ from the outer edges of the finished deck. We then used 2×8’s on the outside and inside of the posts to create a doubled support base on which we could attach floor joists. (see the pdf free deck design download)
DIY Step 4: Install deck floor joists
Check the local building codes to make sure your joists are proper size and distance apart. You don’t want the deck to bow under normal use, or to sag when you walk on it.
Our deck floor joists are 2×8’s at a 24″ on center arrangement. There is a bit of customization around the corner of the deck, as we wanted the floor boards to run parallel to the house, and have a stair-step effect where the boards meet in the corner. to accomplish this, we ran a triple main joist from the corner of the house to the corner of the deck, and ran floor joists at 90º angles to each other. We overhung the joists by 1′ less the thickness of an outer support 2×6. The 2×6 is attached the thickness of the floor boards above the joists. The bottom corner of the floor joist is cut at a 45º angle at 4″ for a desired feature. (see the pdf free deck design download)
The next installment of DIY Steps to build a deck will include:
DIY Step 5: Install deck flooring and railing supports
DIY Step 6: Build Stairs
DIY Step 7: Finish the railing
DIY Step 8: Paint or stain and seal
Comments
DIY Steps to build a deck — No Comments
HTML tags allowed in your comment: <a href="" title=""> <abbr title=""> <acronym title=""> <b> <blockquote cite=""> <cite> <code> <del datetime=""> <em> <i> <q cite=""> <s> <strike> <strong>